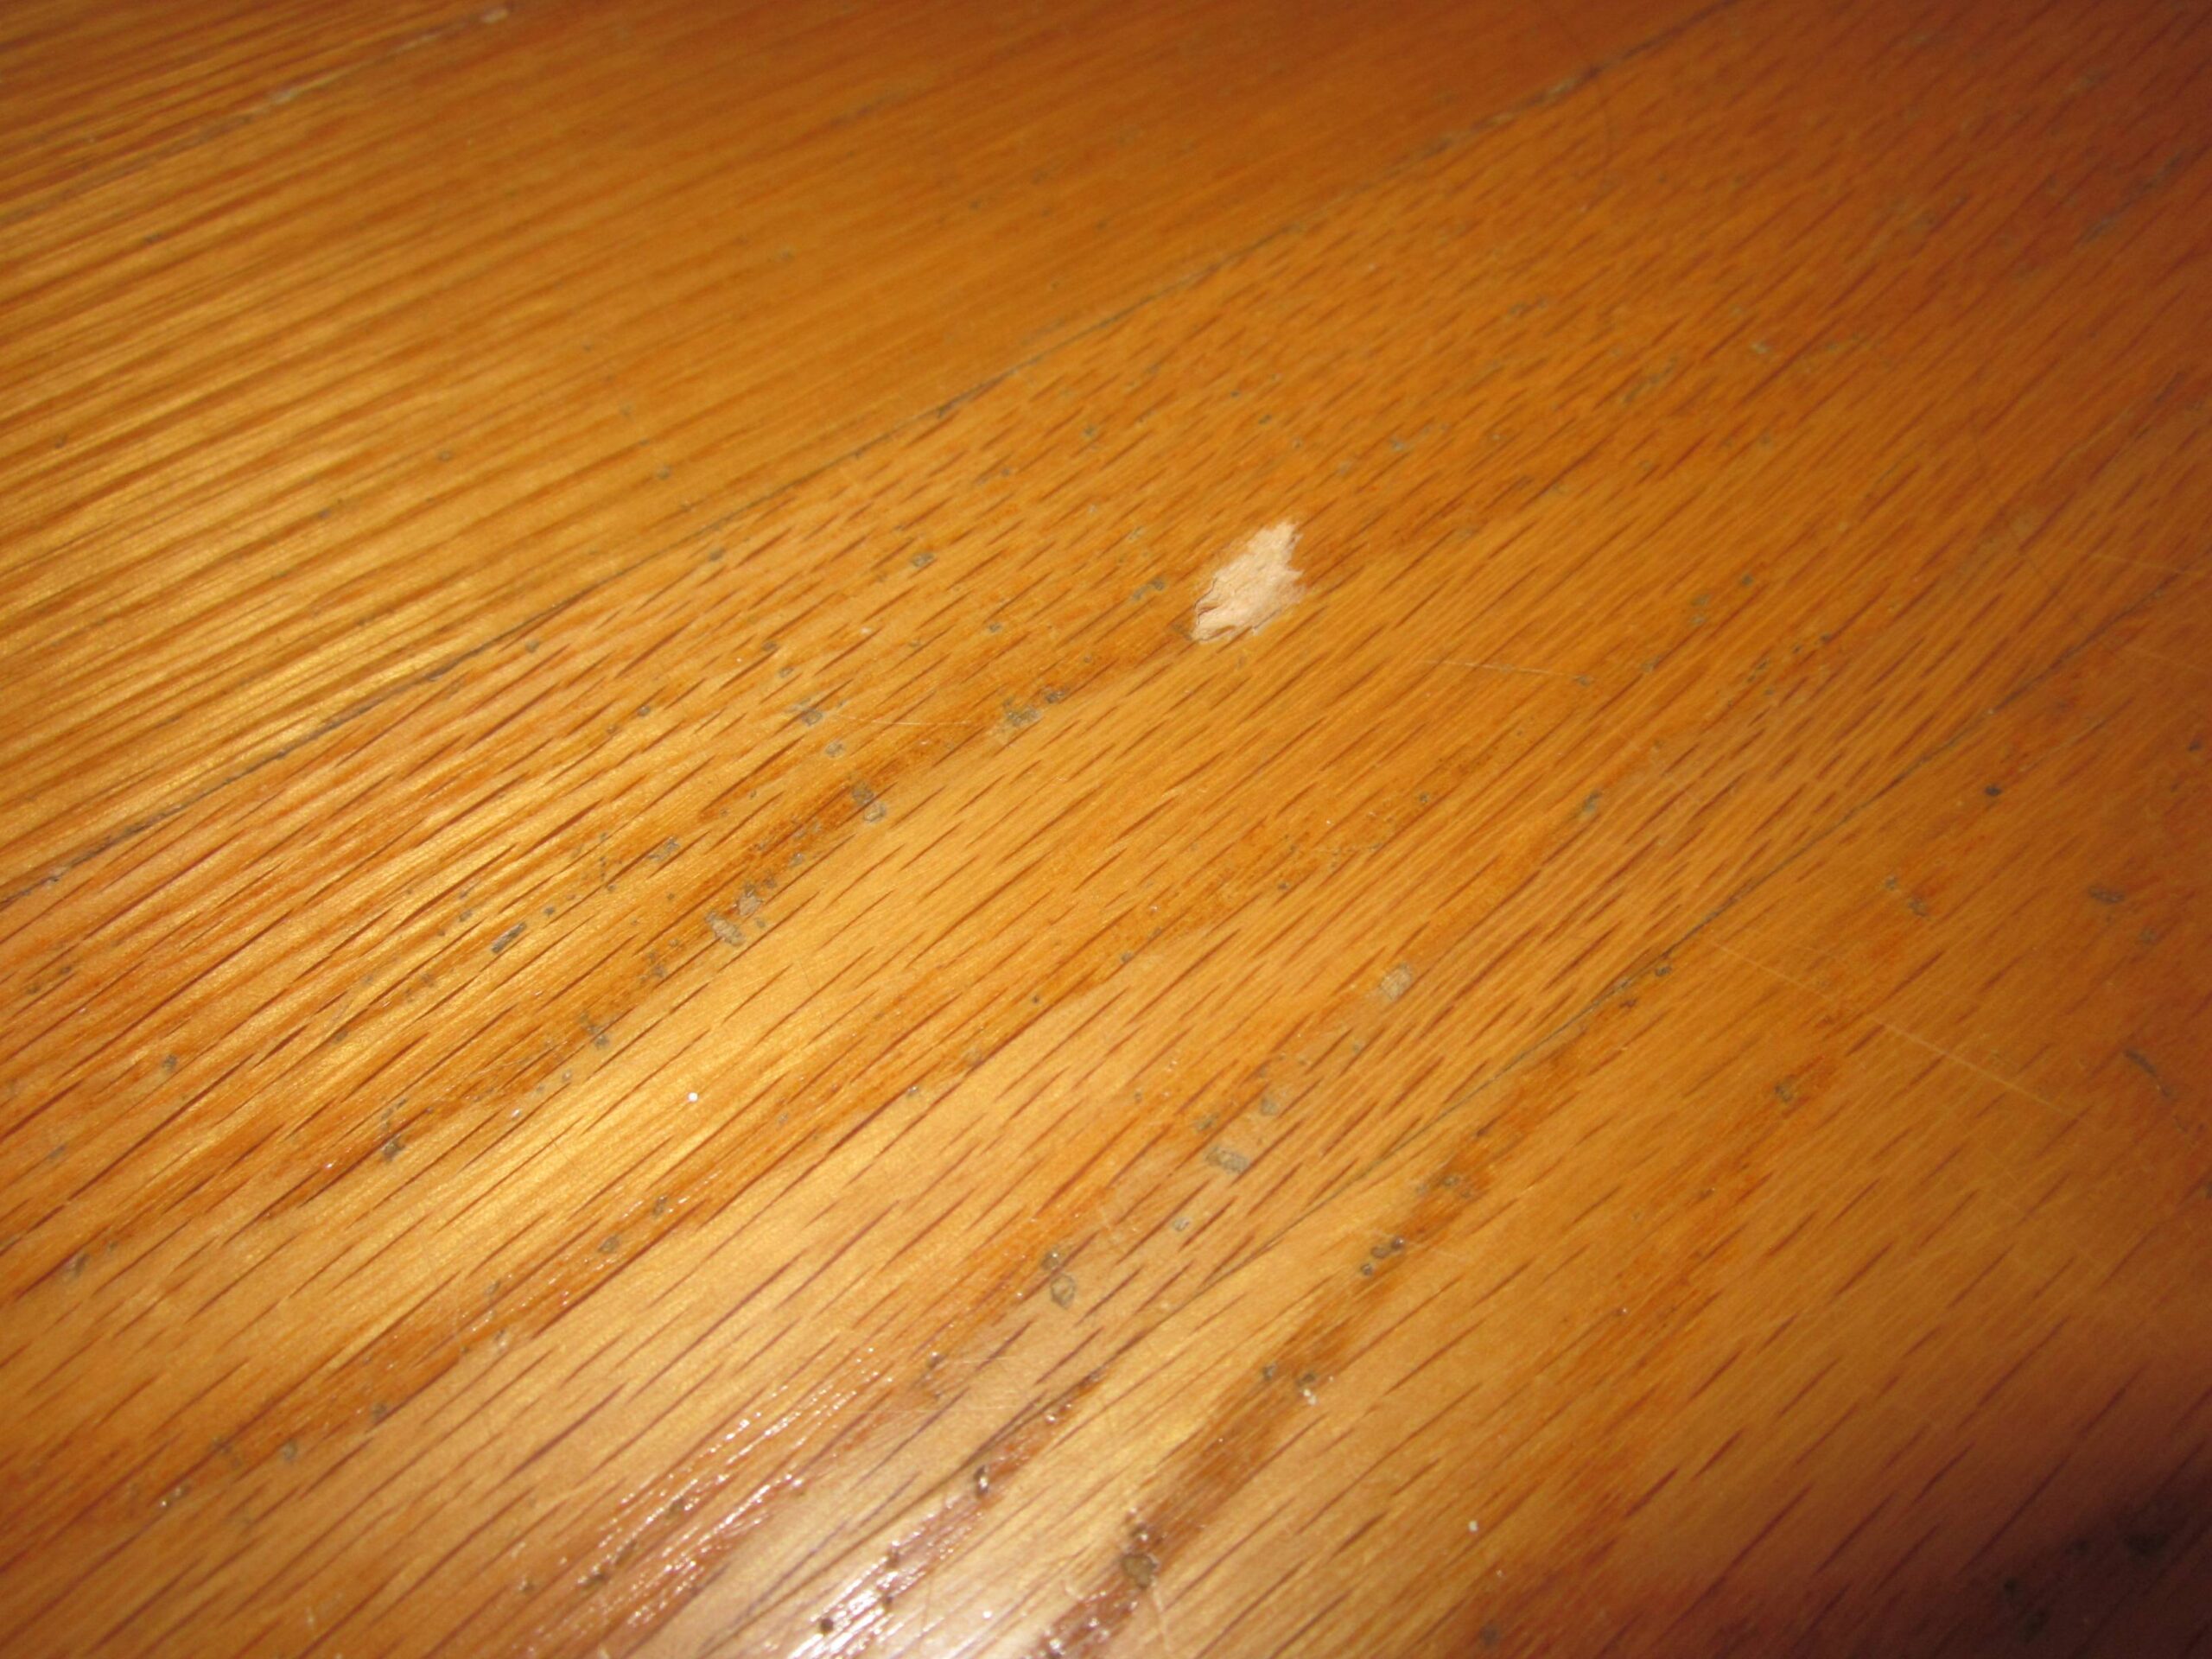
Timber floors bring a natural warmth and charm to any space. But let’s face it, life happens. Over time, timber flooring can get scratches from furniture, dents from dropped items, and general wear and tear, leaving them looking a bit rough around the edges. Fortunately, fixing these blemishes is not as tricky as it might seem. Whether you’re dealing with a minor scratch or a hefty dent, here are practical tips to get your timber floors looking polished and fresh again.
1. Tackling Surface Scratches
Scratches are a common sight on timber floors, especially in high-traffic areas. However, the good news is, minor surface scratches don’t require heavy-duty repairs.
Solution:
For light scratches, a simple wood floor cleaner might do the trick. It is recommended to start by wiping down the area, ensuring any dirt or dust is gone (you do not want to rub debris deeper into the floor). Then, you can use a hardwood floor repair marker or wax crayon that matches your floor colour. Fill in the scratch by applying the marker or crayon, and buff it gently with a soft cloth. For slightly deeper scratches, you could also consider using a wood stain pen. These pens are often found in hardware stores and can help mask scratches, bringing the colour back to the wood. It is essential to always test in a less visible spot first to make sure the colour matches. If you need more help, it is a good idea to contact reliable professionals dealing with timber floor repairs in Sydney.
Pro Tip:
“A penny saved is a penny earned”. Sometimes, all your floor needs is a touch-up rather than a full repair.
2. Fixing Deeper Scratches and Gouges
When scratches cut deeper than the surface, you’ll need a bit more effort to make them disappear.
Solution:
First, you will need to clean the area to remove any debris. Then, you can use fine-grit sandpaper to lightly sand the scratch, working along the wood grain (but never across it). It is also essential to be gentle to avoid making the damage worse. Once sanded, you can apply a small amount of wood filler that matches the colour of your timber. After it dries, you can lightly sand again to level the surface, and then finish with a wood stain or sealant to blend the repair.
Quick Fix:
If you’re pressed for time or supplies, you can also try rubbing a walnut over the scratch. It might sound strange, but the oils in walnuts can help fill in shallow scratches and restore a bit of the wood’s colour.
3. Dealing with Dents
Dents happen—especially if you’ve dropped something heavy. However, one of the advantages of timber floors is that they have a bit of flexibility, allowing you to “pop” some dents out.
Solution:
You can start by placing a damp cloth over the dent. Then, gently iron over the cloth in a low to medium setting. The steam helps the wood expand, often lifting the dent. Just be careful not to overdo it; you don’t want to scorch your floor. This trick works best for smaller dents, where the wood fibres are just compressed, not broken.
Worth Noting:
This steaming technique does not work for all wood types. Engineered timber, for example, might not respond as well to this repair technique, so if you’re unsure, you can test it out in a small area or seek professional advice.
4. Buffing Out Scuff Marks
Scuff marks—those pesky white streaks that appear after someone drags a chair or heavy object across the floor—are frustrating but relatively easy to fix.
Solution:
You can try buffing out scuff marks with a soft cloth and a dab of mineral oil. Alternatively, you can use a pencil eraser (yes, the one on the end of your pencil!) to rub away lighter scuffs. For tougher marks, you can also try mixing baking soda with water to form a paste, then applying it to a soft cloth and gently rubbing the scuff with it.
5. Refinishing for Widespread Damage
If your floor has seen better days, it might be time to consider refinishing it. However, this is not a minor touch-up. While it’s a more involved process, it can restore an entire room to its former glory.
Solution:
Refinishing involves sanding down the floor’s top layer to remove scratches, dents, and other blemishes and then applying a new finish. While you can DIY it, refinishing usually takes some serious elbow grease. Renting a sander and applying the finish yourself can save you money, but if you’re unsure how to do it, a professional can handle the job with precision.
Pro Insight:
If your floor has multiple layers of finish or deep damage, a full refinish may be the only way to get back that smooth, clean look. You can think of it as giving your floor a fresh start.
When to Call a Pro
Some issues might be beyond a simple DIY fix, especially if your floor has structural damage or water issues. In these cases, it is best to consult a professional. The cost of hiring an expert can be worthwhile, especially if it saves you from a costly mistake or prolonged frustration.

